> For the complete documentation index, see [llms.txt](https://docs.sealsecurity.io/llms.txt). Markdown versions of documentation pages are available by appending `.md` to page URLs; this page is available as [Markdown](https://docs.sealsecurity.io/integrations/internal-scanners/snyk.md).
# Snyk integration
Synchronize Seal's remediation findings into Snyk.
Snyk is the only scanner Seal supports through both integration mechanisms: policy-file edits to `.snyk` in the repository, and direct API calls against the Snyk hosted dashboard.
Use one or the other per Seal Project, matched to the CLI fix mode:
* **Local fix mode**: edit `.snyk` in the repository checkout. This is the only mechanism that makes sense when Sealing Rules already live in source (`.seal-actions.yml`), because the policy-file edit lands in the same PR.
* **Remote or all mode**: call the Snyk API directly. The CLI does not modify your repository in these modes, so a policy-file edit has no natural carrier; the API is the right path.
Do not enable both for the same Seal Project.
## Policy-file edits (Local mode)
The Seal CLI writes ignore entries to a `.snyk` policy file at the root of your project. Snyk reads this file on its next scan and suppresses the listed vulnerabilities.
### Before you start
The Seal CLI step that drives the integration must have write access to the repository checkout in CI.
### Enabling policy-file generation
There are two ways to enable Snyk policy-file generation:
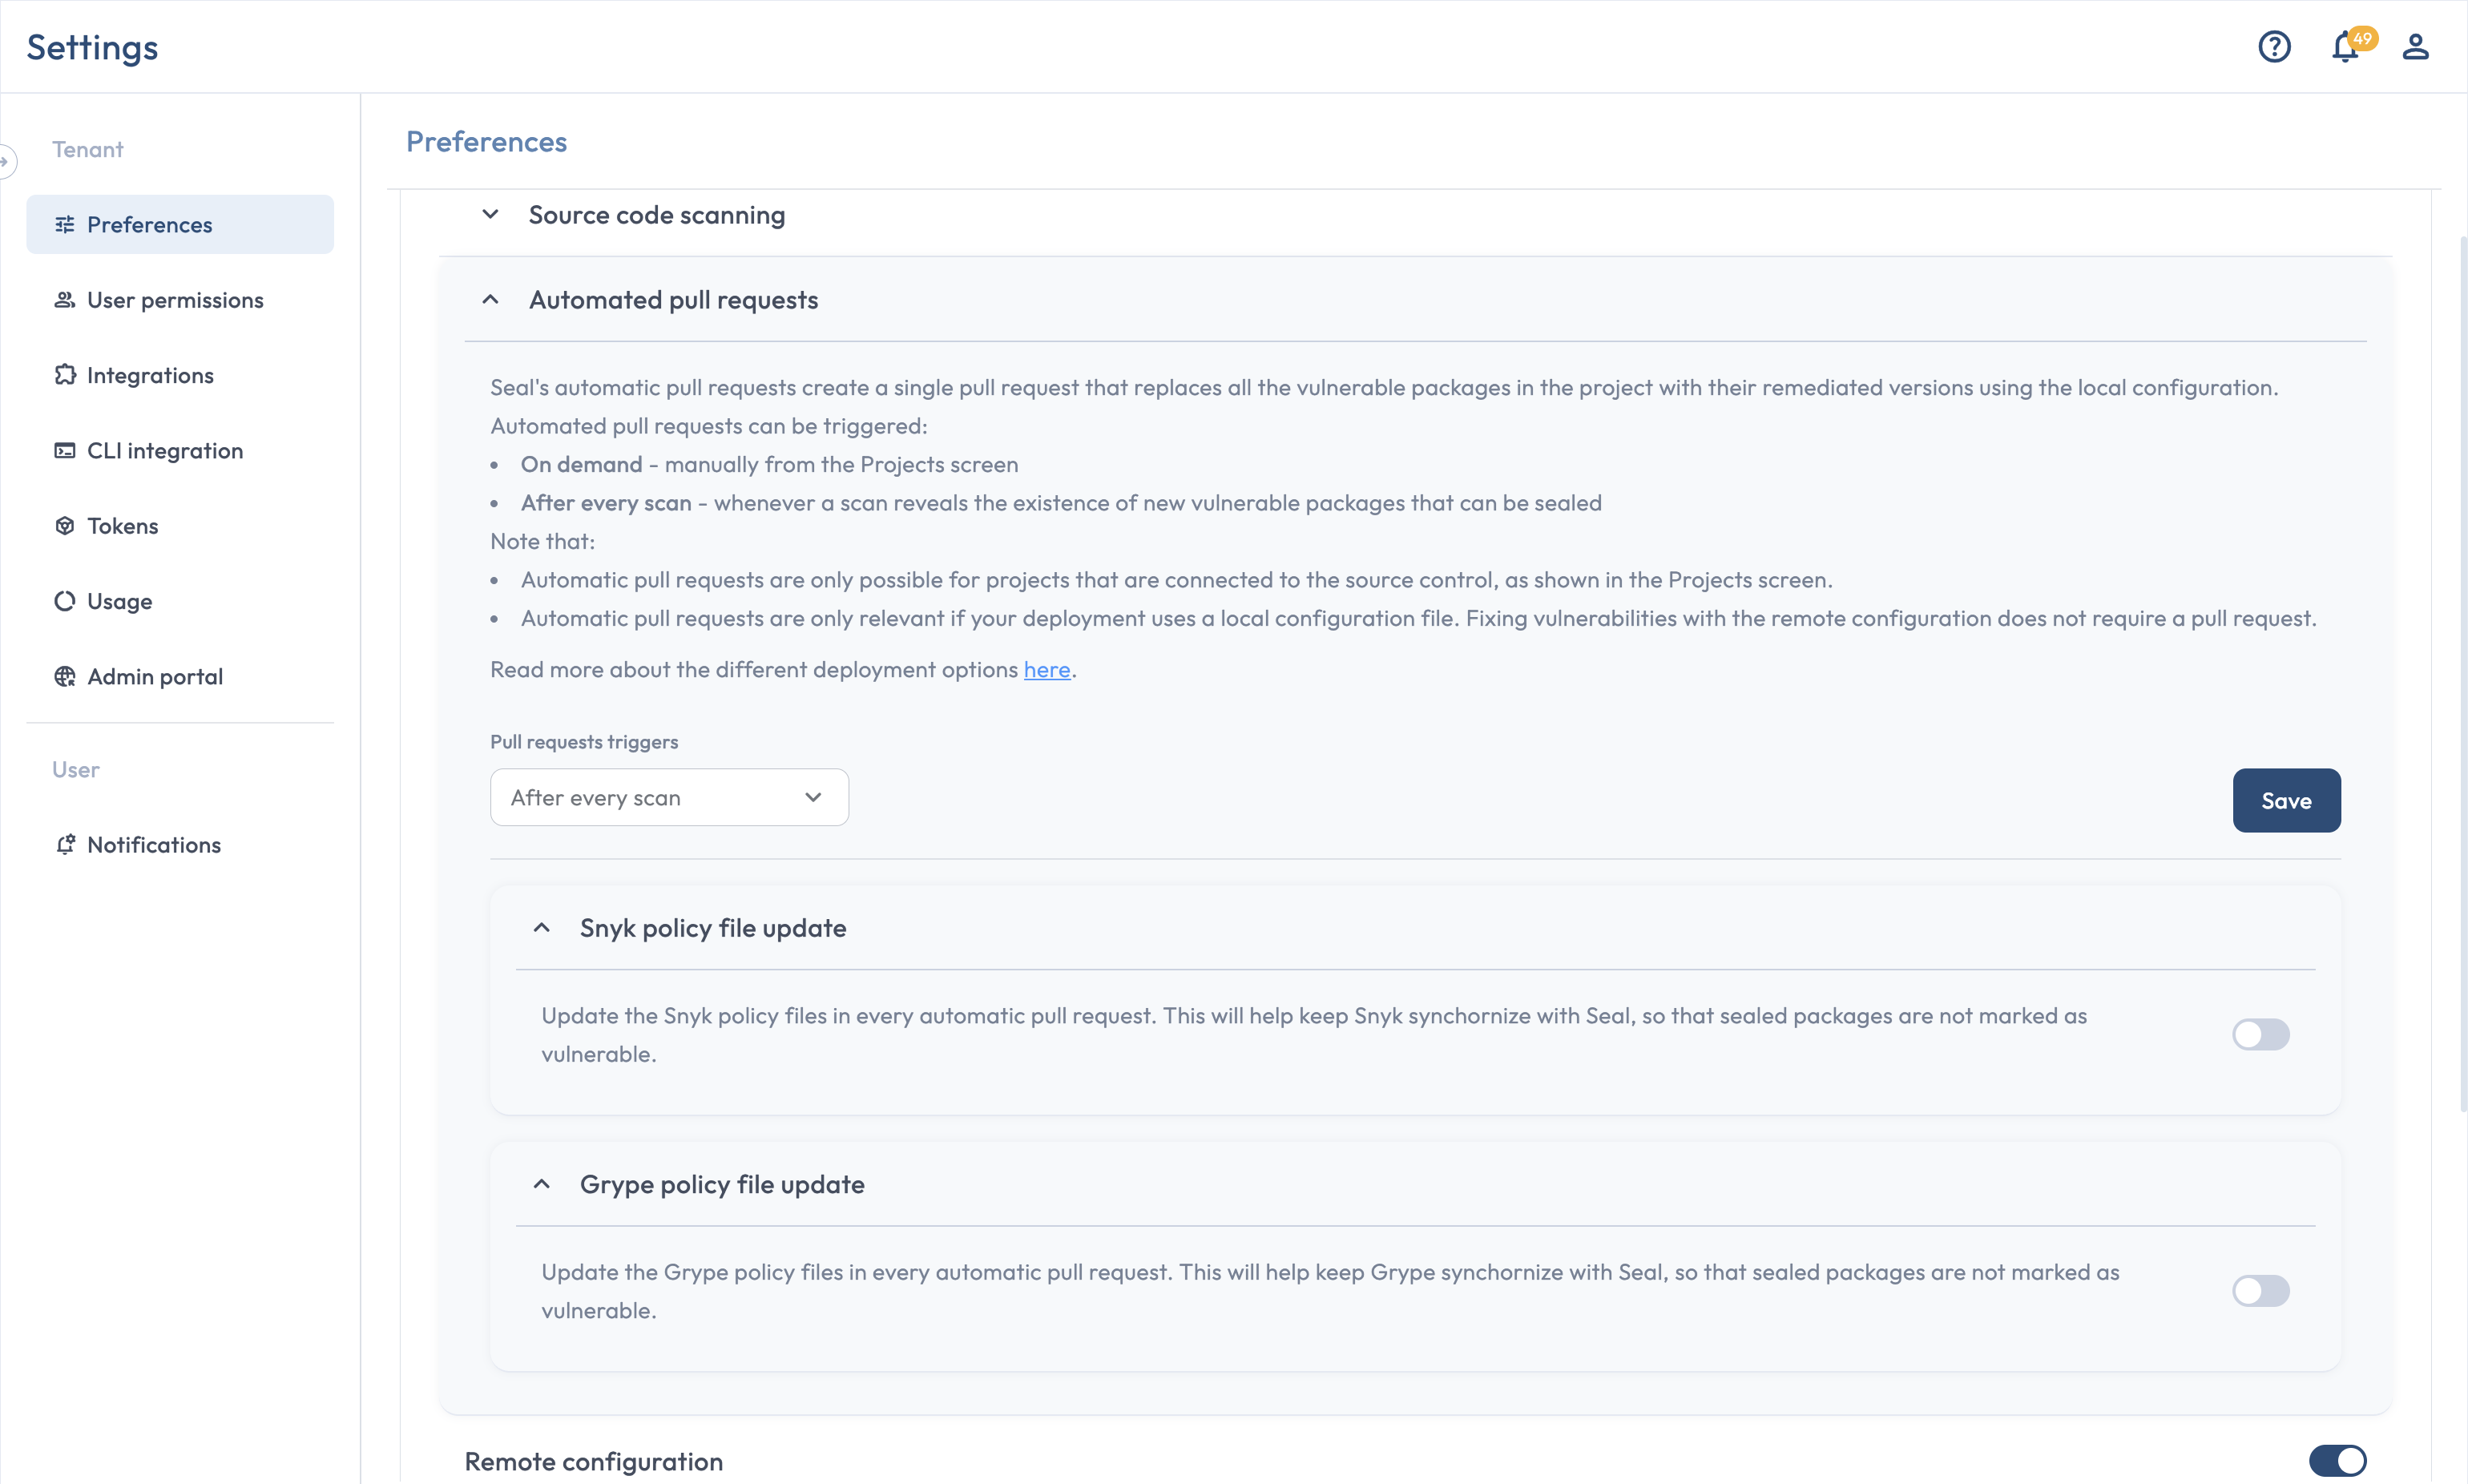
* **Through the UI.** Under **Settings > Preferences**, enable the **Snyk policy file update** toggle. With this on, every automatic PR that updates `.seal-actions.yml` also writes the matching `.snyk` entries.
* **From the CLI.** Invoke the Seal CLI with the explicit flags:
```bash
seal scan --generate-actions-file --generate-snyk-policy
```
The CLI generates or updates `.snyk` at the project root with ignore entries for each vulnerability Seal sealed in this run.
The tenant-wide Snyk and Grype policy-file update toggles in Settings > Preferences.
### Committing the file
`.snyk` is part of your repository. Commit it like any other source-controlled config. Snyk's scanner reads the version of the file present in the branch being scanned.
## API sync (Remote and Automatic Remediation)
The Seal CLI calls the Snyk API after every `seal fix` run and marks the vulnerabilities Seal sealed as ignored in the corresponding Snyk project.
### Before you start
* A Snyk service account token. In Snyk, go to **Organization > Settings > Service accounts** and create one. **Org Collaborator** permissions are sufficient. Use an API key with no expiration.
* The Snyk organization ID. In Snyk, go to **Organization > Settings > General**. Copy the value under **Organization ID**.
* One or more Snyk project IDs. In Snyk, go to **Organization > Projects > *****your project***** > Settings** and copy the value under **Project ID**. If your Seal Project covers more than one Snyk project (for example, several manifests inside the same repository), gather every relevant Snyk project ID; the CLI accepts a comma-separated list.
### Configuration
Set these in your CI environment:
```bash
SEAL_SNYK_URL=https://api.snyk.io
SEAL_SNYK_TOKEN=
SEAL_SNYK_ORG_ID=
SEAL_SNYK_PROJECT_ID=
```
`SEAL_SNYK_URL` defaults to `https://api.snyk.io` and can be omitted unless you are on a regional Snyk endpoint or a self-hosted Snyk. `SEAL_SNYK_PROJECT_ID` accepts one ID or a comma-separated list.
Or in `.seal-config.yml` at the project root:
```yaml
snyk:
url: https://api.snyk.io
token:
org-id:
project-ids:
-
-
```
### What gets synchronized
For each vulnerability the Seal CLI sealed in this `seal fix` run, the corresponding Snyk issue in the targeted Snyk project is marked as ignored, with a reason indicating it was remediated by Seal Security.
Vulnerabilities that are not yet sealed (no sealed version exists, or one exists but the Sealing Rule has not been created) stay open in Snyk.
## Verify
Open the targeted Snyk project after the next CLI run. Vulnerabilities Seal sealed should appear as ignored (API path) or suppressed by `.snyk` (policy-file path), with a Seal-attributed reason in either case.
## Related
* [How CLI-driven sync works](/integrations/internal-scanners/how-cli-sync-works.md): when the sync runs and what it does to your scanner's state.
* [External scanner support](/integrations/external-scanners.md): for Snyk scans that run outside your organization.