> For the complete documentation index, see [llms.txt](https://docs.sealsecurity.io/llms.txt). Markdown versions of documentation pages are available by appending `.md` to page URLs; this page is available as [Markdown](https://docs.sealsecurity.io/getting-started/sign-up-and-sign-in.md).
# Sign up and sign in
Activating your invite, signing in, and switching tenants.
Access to the Seal Platform is invite-only. Your first sign-in starts from an email invite; once activated, you sign in like any other web application.
## Activating your invite
The first user of a new tenant receives an invite email directly from Seal Security. After that, tenant admins invite additional users from inside the platform.
1. Open the invite email and click the activation link. Invite links expire after **seven days**.
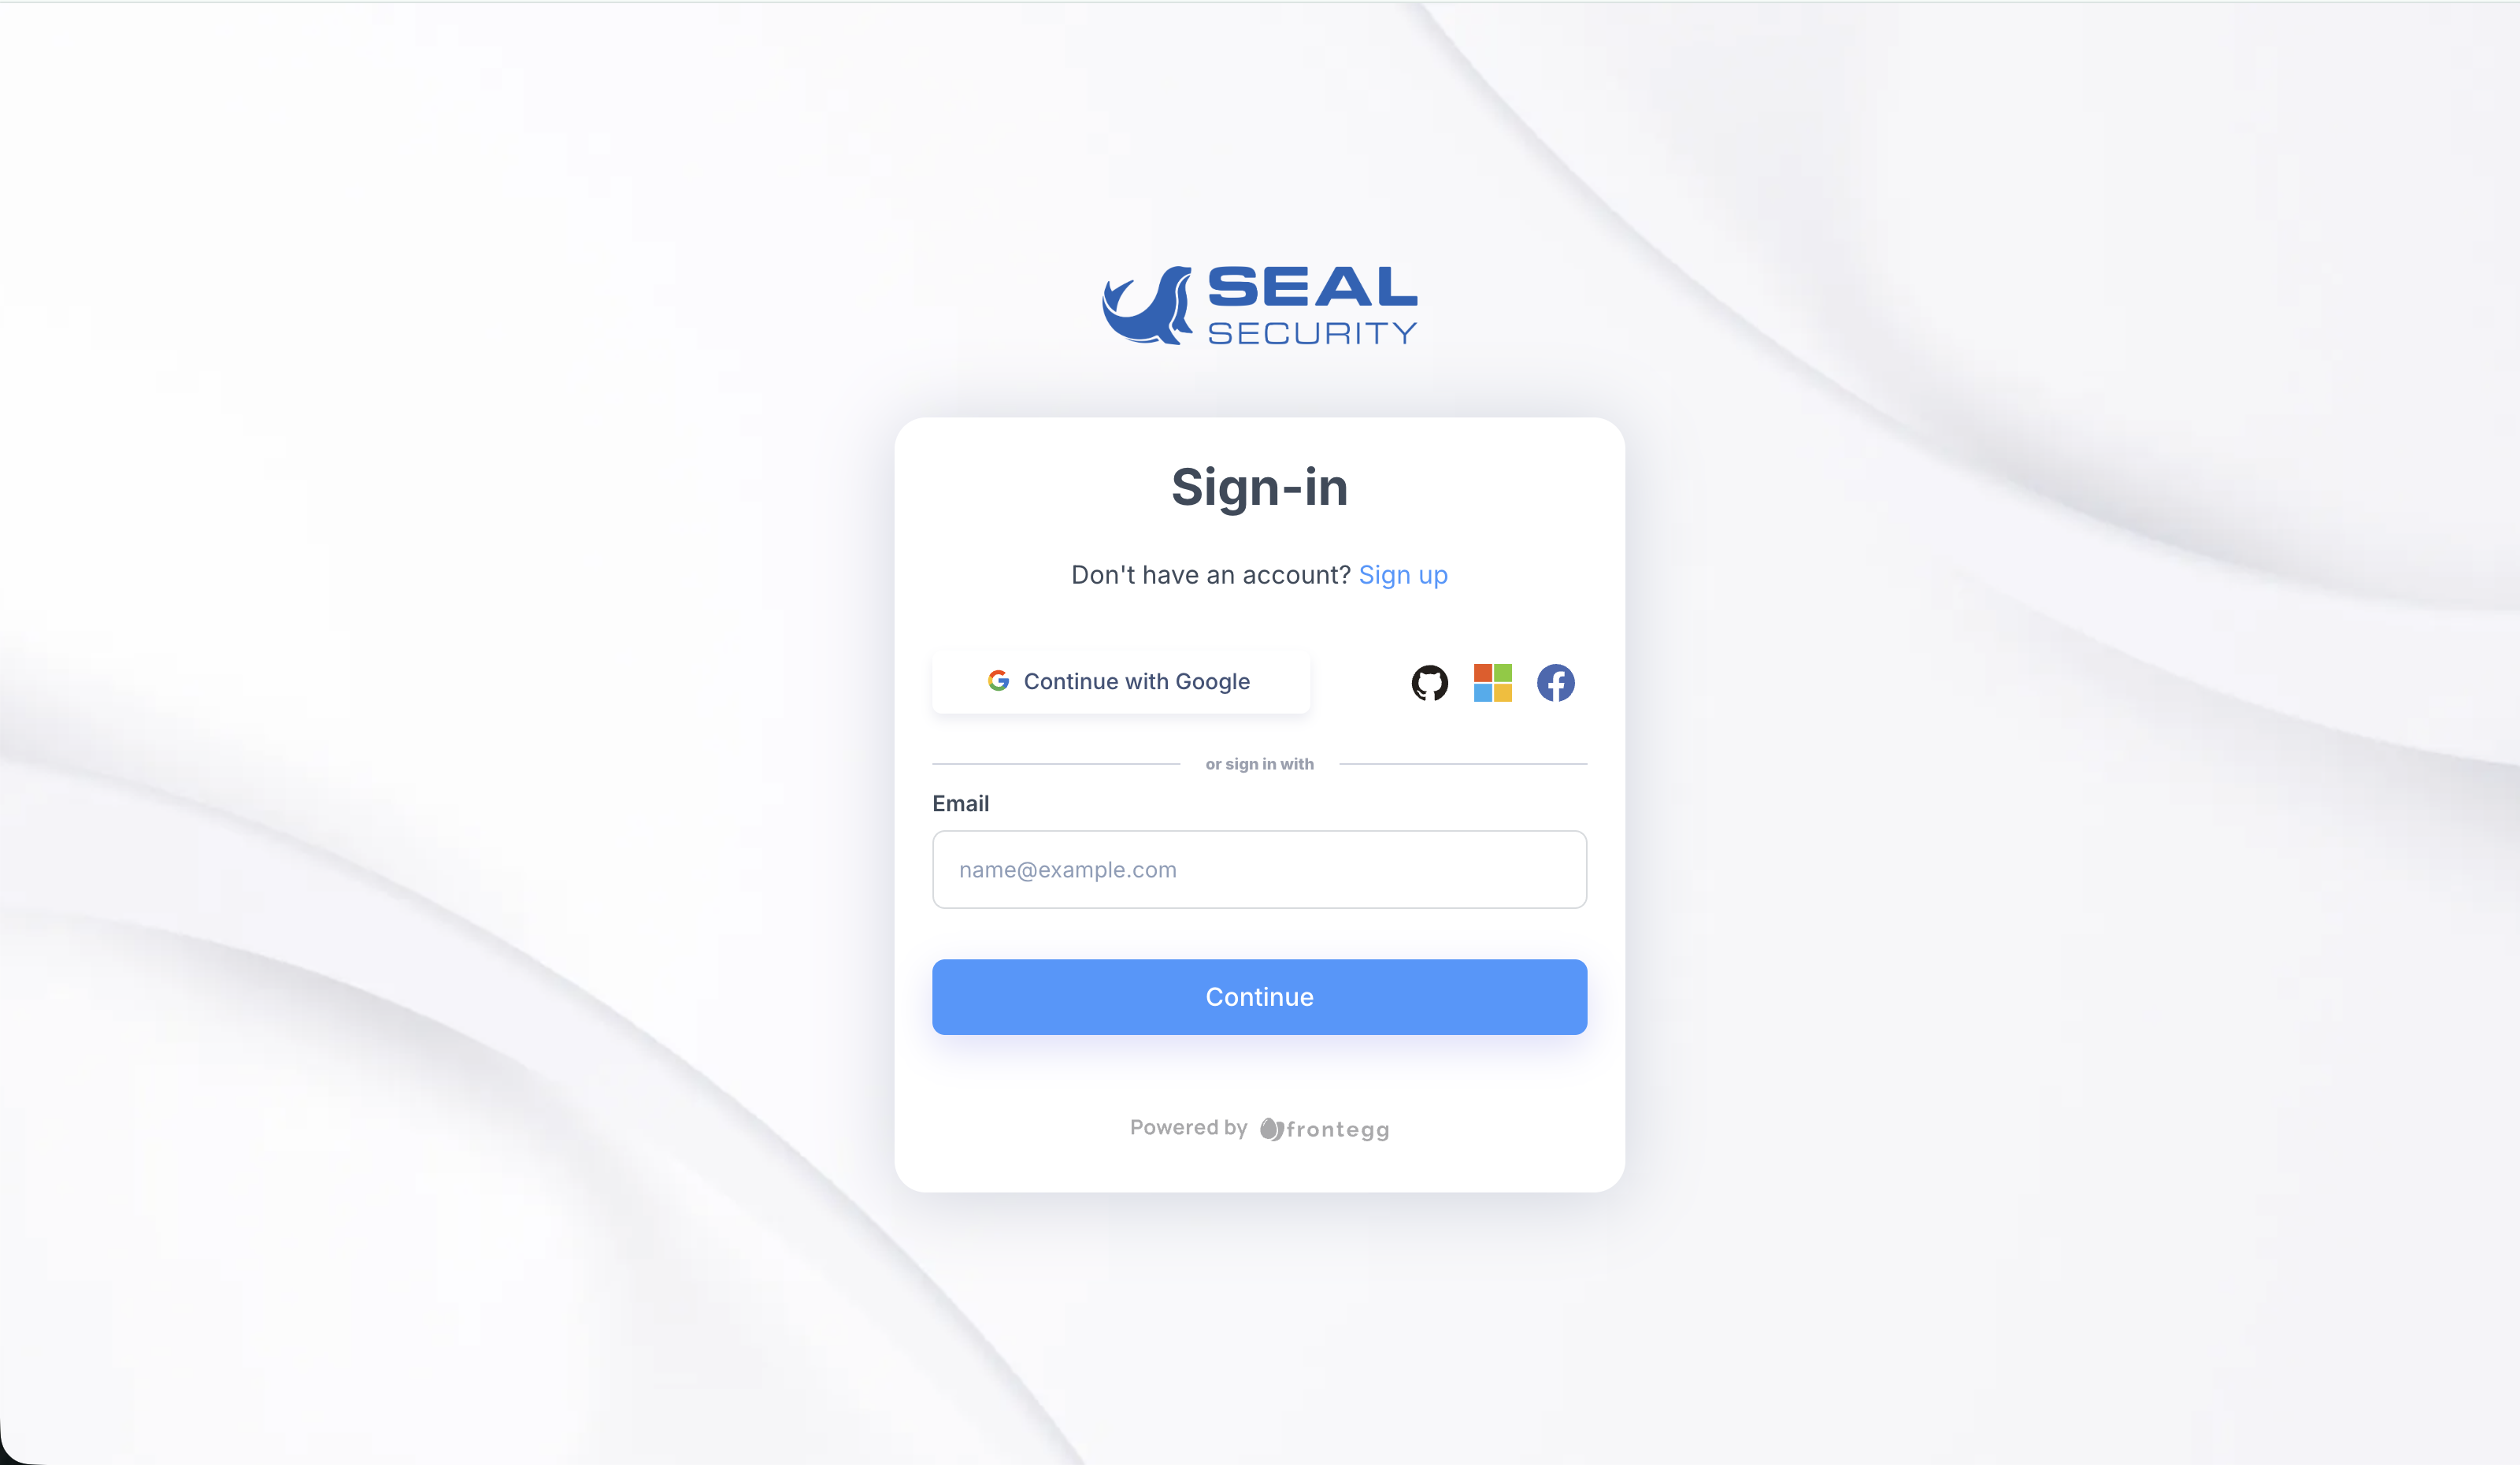
2. Choose how you want to authenticate. The hosted login page offers a password and the social-login providers Seal supports: **Google**, **GitHub**, **Microsoft**, and **Facebook**.
3. If you set a password, follow the strength rules shown on the page.
4. You land in the Seal UI, scoped to the tenant the invite was issued for.
If your organization is configured for SAML single sign-on, you may not need an explicit invite at all. See [Single sign-on and auto-provisioning](#single-sign-on-and-auto-provisioning) below.
## Single sign-on and auto-provisioning
If your organization has SAML single sign-on configured for its Seal tenant:
* New users do not need a separate email invite. The first time they sign in through your identity provider (IdP), Seal auto-provisions their account in your tenant.
* Subsequent sign-ins go through your IdP as usual.
## Signing in
For subsequent sign-ins:
1. Go to .
2. Click **Log in** at the top right.
3. Enter your credentials (password or social login).
4. You land in the tenant you most recently visited.
The Seal hosted login page
## Switching between tenants
A single Seal account can be associated with more than one tenant, though in practice most users belong to one. After signing in:
1. Click your user-profile icon at the top right of the Seal UI.
2. Select **Switch tenant**.
3. Choose the tenant you want from the picker.
## Forgotten password
The login page does not currently include a self-serve password reset. Contact a tenant admin to have your password reset.
## Related
* [Managing users, roles & SSO](/getting-started/users-and-sso.md): inviting users from inside the platform, configuring SAML, and the user role model.
* [Managing tokens](/getting-started/tokens.md): production and development tokens for the Seal CLI and the Public API.